Protecting a fishing kayak’s keel

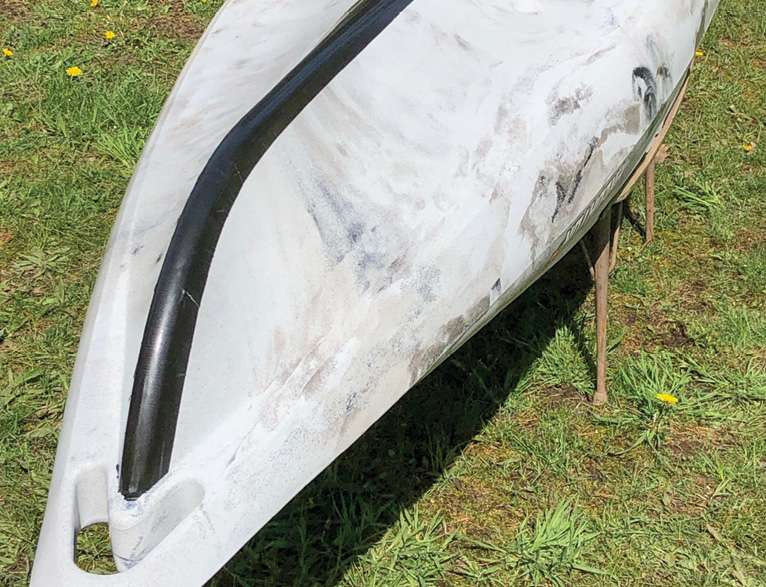
Scratches are unsightly and decrease a kayak’s resale value. Keel protectors can avert the worst gouges that occur where the bow’s curve transitions to the flat bottom of the hull. You can make an easy keel protector that performs well with four layers of Gorilla Tape. A couple of tricks will help you achieve a neat, solid application.
<p>
<em>All captions: Dave Mull</em>
Scratches are unsightly and decrease a kayak’s resale value. Keel protectors can avert the worst gouges that occur where the bow’s curve transitions to the flat bottom of the hull. You can make an easy keel protector that performs well with four layers of Gorilla Tape. A couple of tricks will help you achieve a neat, solid application.

All captions: Dave Mull
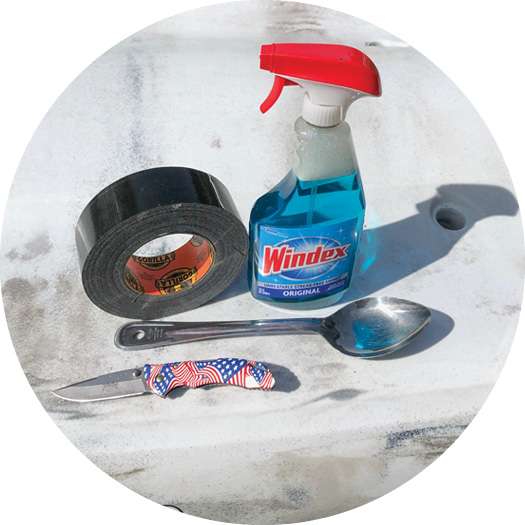
Materials: a roll of 3- or 4-inch Gorilla Tape, Windex, a spoon and a sharp knife.
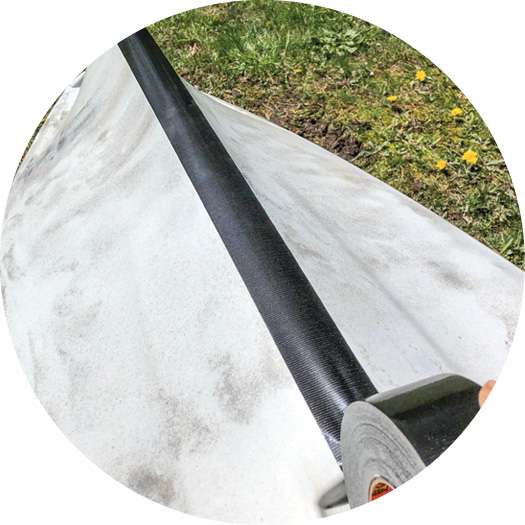
Clean the keel well with Windex to remove dirt and protectants such as 3M 303. Affix the first strip right down the middle of the keel. Our Old Town Predator 13’s transducer pocket made a convenient end point.
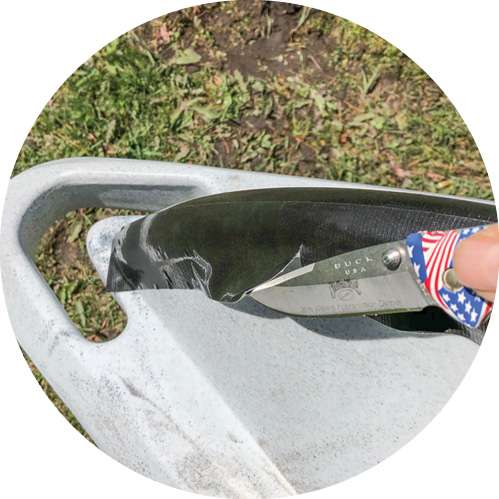
Wherever the tape bulges out away from the curve of the bow, slice the outside one-third so you can press the flaps down to overlap and make the tape lie flat.
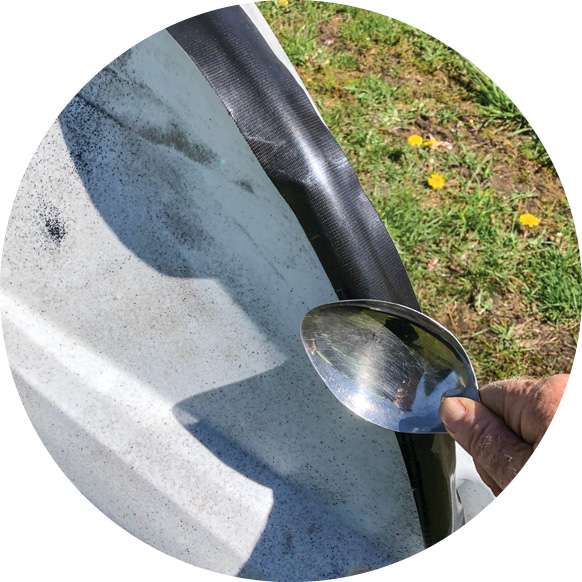
Press out bubbles and maximize adhesion by rubbing each strip thoroughly with a spoon.
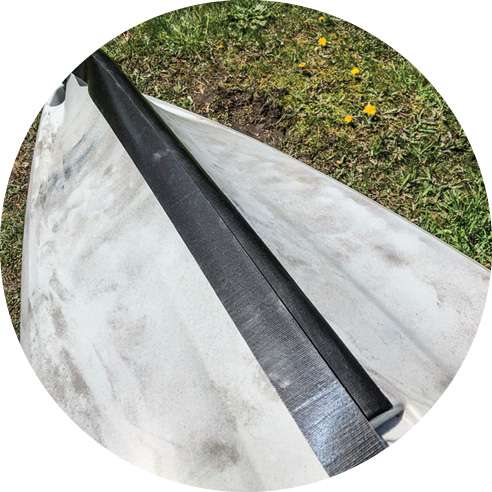
Apply second and third strips slightly to either side of the first, yet covering the center of the keel to widen and thicken protection where it’s needed most. The final strip goes right down the center. Leave the kayak hull-up in the sun for a few hours (or carefully warm the tape with a heat gun) to cure the tape and keep your application solid.