DIY kayak net storage

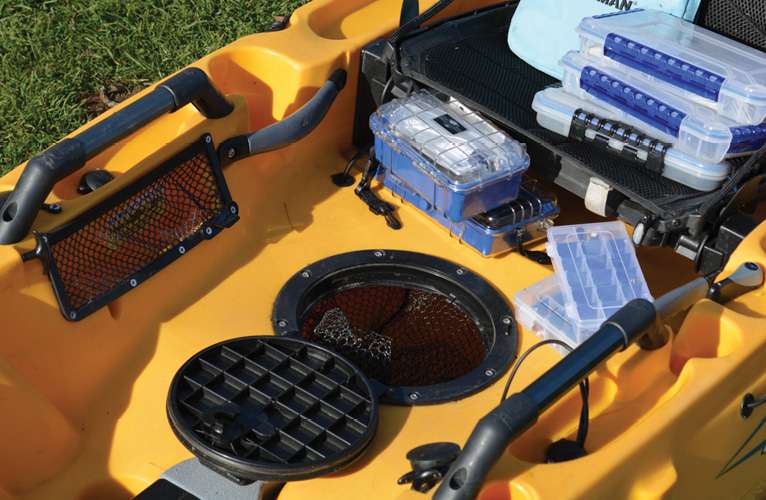
A broken landing net can get a second life and make storage in your kayak more convenient. Use the mesh to increase usable below-deck space and keep tackle from sliding out of reach.
<p>
<em>All captions: Dave Mull</em>
A broken landing net can get a second life and make storage in your kayak more convenient. Use the mesh to increase usable below-deck space and keep tackle from sliding out of reach.

All captions: Dave Mull
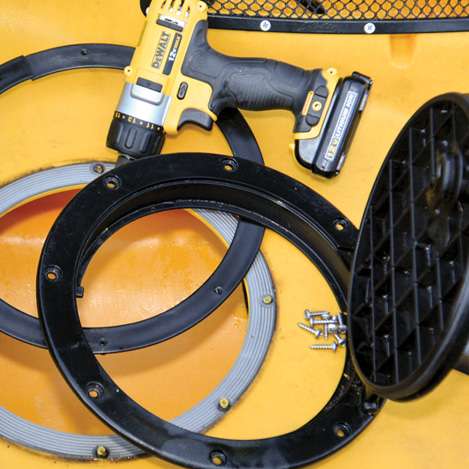
1. Unscrew and remove the hatch lid and its back panel where you want to ­increase storage.
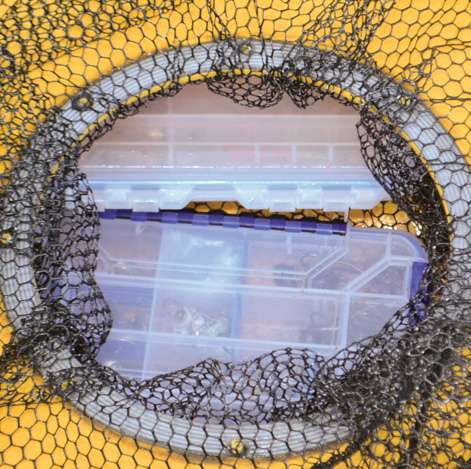
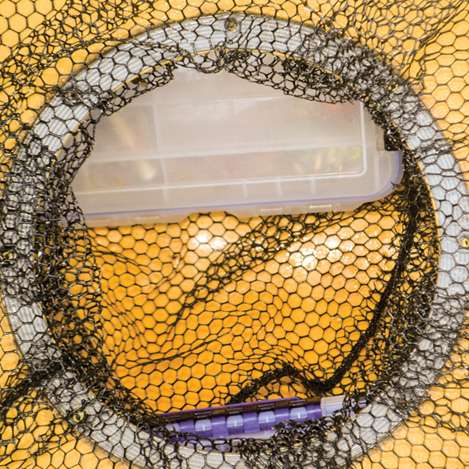
2. Put the netting inside and spread it out as much as possible. Use your tacklebox to help stretch out the net.
3. Replace the back panel and storage hatch assembly, clamping the net between your deck and the hatch’s ring. Take care to align the holes.
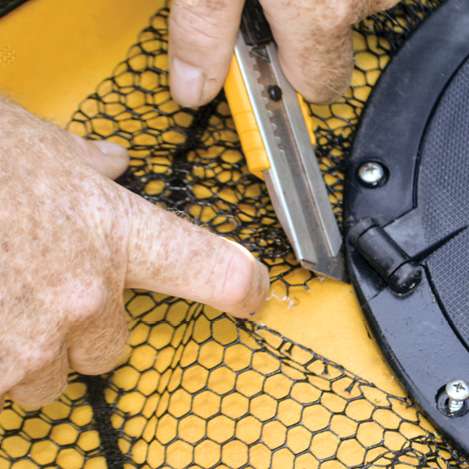
4. Loosely screw down the hatch cover assembly and trim excess net. The loose screws allow your knife to get under the hatch’s rim.
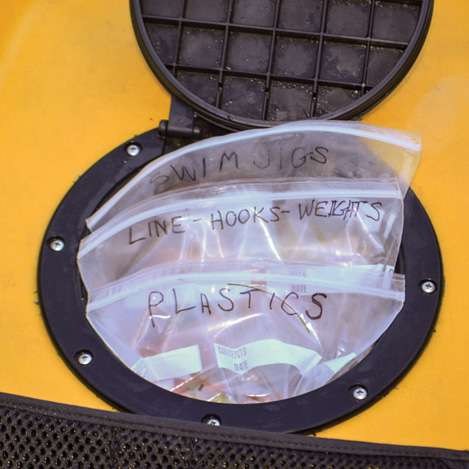
5. Now you can put tackle boxes and Ziploc bags ­inside, and the net keeps them at your fingertips.