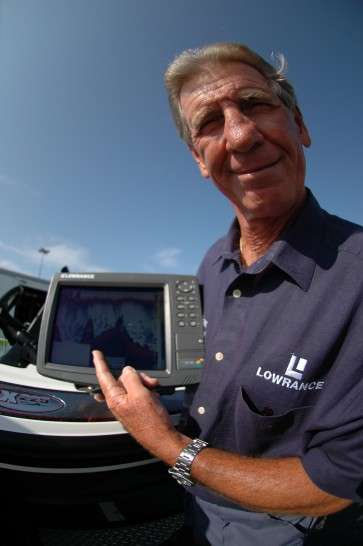
Editor’s note: This is the third of a series by Wilson Frazier covering every aspect of how to use, and get more out of, your electronics. Frazier is one of the leading experts in the industry on the setup and use of electronics. For more information, visit his website.
Part 3: Tweaking
Tweaking your unit is nothing more than customizing it to make it more user friendly — to you. There are countless ways to do this. I’ll give you some ideas, but the final product is up to you.
The best way to customize your unit is to try different settings and displays until you get what you want. If you have something you don’t like or your unit gets all out of whack, set it back to the factory (default) settings. Read your manual and learn how to do that. It’ll save you hours of frustration. (On Lowrance units you reset it through “System Setup.”)
In general the factory defaults will give you satisfactory performance. But there are a few things you might want to do to make it better.
If you have an older unit, go to the menu and select your map option. From there select whatever option you have to display the future track of your boat. Then select 1 mile. This will help you hit your waypoint or wherever else you want to go.
On Lowrance HDS units, go to the second page menu and select “chart.” Then select “heading extension one mile.” This will be satisfactory for most fishing situations.
I also suggest you display a split screen with Map and with Sonar. Start with the map on your left and the sonar on your right. Resize the windows so that the map is larger than the sonar page. Remember, we learned in Lesson 1 that the only active part of the sonar screen is on the extreme right-hand side. You don’t need to see what’s way behind you.
Next, adjust your sonar chart page to make the bottom brown if your unit allows that. Brown will give you more definition. On Lowrance HDS units select “Palette 13.”
From there you’ll probably want to do some data overlay on your screens. We’ll talk more about that in a later lesson, but for today let’s look at a couple of tweaks you can do right now that’ll help.
Go to your unit and select the “information overlay” or “information box” display option. It’ll give you several choices.
I like to display water depth and water temperature with numerals. You might want to add local time, trip distance, and perhaps speed over ground. You can put any of these overlays on either the map or the sonar page. Resize and move the display as you see fit.
Note: If your water temperature or water depth box shows a straight line, go back and take the overlay out. Then start over. That’ll fix it. I have no earthly idea why, but that usually works.
One thing that a lot of anglers don’t display is battery voltage. That’s a mistake. Your electronics unit runs off your cranking battery. If it goes dead, you’re in for a hassle. The easiest way to avoid that is to run the big motor for a few minutes when the voltage gets low. (Low is anywhere below 12 volts.)
You can save your overlay display. There are also other data overlay and setup options that are fully explained on my DVD set. We’ll cover some of them in a future lesson.
Pro Angler Tip: Not all anglers use their overlay to display water depth. Elite Series pro Shaw Grigsby is one of them. “I can see how deep the water is by looking at the right side of my screen and reading the vertical ruler. Do I really need to know it’s 8.7 rather than 8.8 feet?”
Next time we’ll talk about what sonar really shows you.


