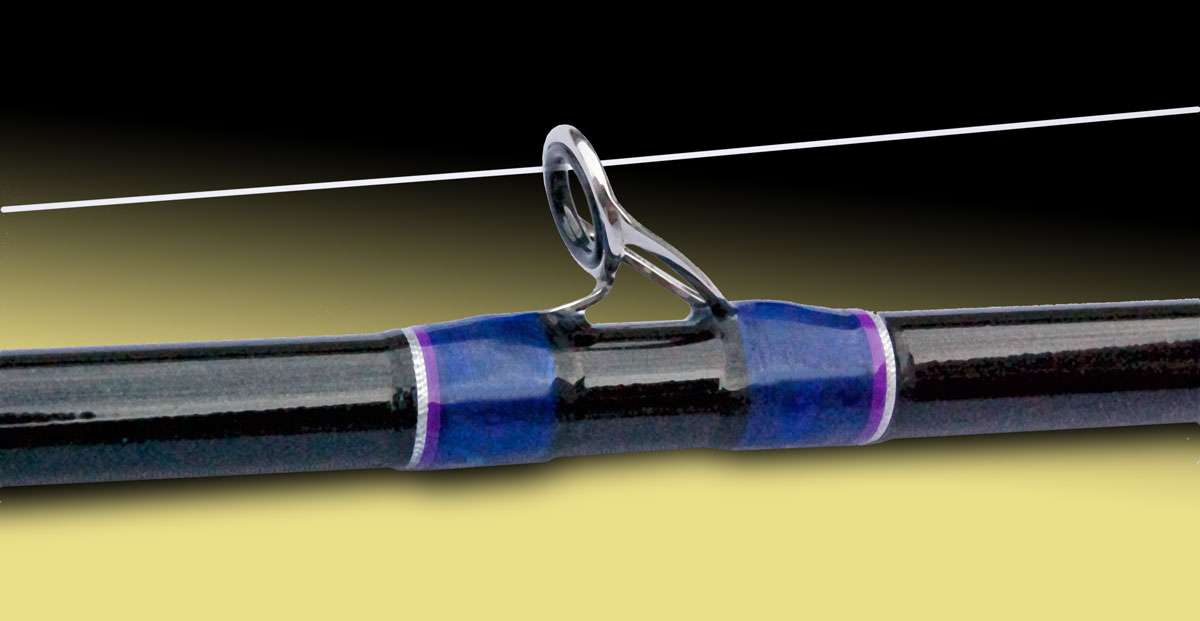
For years, I’ve worked with Shimano in the development of their fishing rods, and I’ve learned a lot along the way. But until recently, I’ve never actually tried building one myself. And now that I know how simple it is, I regret not having done it sooner.
I know what you’re thinking — with so many rods out there to choose from, why build one yourself? Actually, there are several reasons. Building your own rod can be fun and rewarding, and, even better, it gives you the opportunity to build it to your own specifications.
Even though most major rod manufacturers offer broad selections to choose from, the truth is, none of them carry it all. Most of the bass rods offered these days are designed for wide-range appeal — they’re intended for multiple applications. That is, rods designed for spinnerbait fishing are also applied to worm fishing.
Specialty rods or rods with very specific applications just don’t generate enough sales, so few of them ever make it to market. As a result, anglers are forced to use rods built for a more general application. And in most cases, that’s fine. But what if you’re dealing with a specialized technique or lure, like an umbrella rig, for instance? These cumbersome rigs aren’t easy to throw, and the rods most frequently used compromise some aspect of the presentation. They’re long enough perhaps, but that’s about where it ends. They don’t have the proper taper or action to fish the lure optimally.
A similar problem occurred back when Carolina rig fishing first caught on. Because the earliest rigs utilized super-long leaders, lengthy rods were essential in order to launch the bait any distance. At the time, the only bass rods long enough were those designed for flipping or deep diving crankbaits. Since the crankbait rod didn’t have the backbone or the proper feel, most of us made do with a flipping stick.
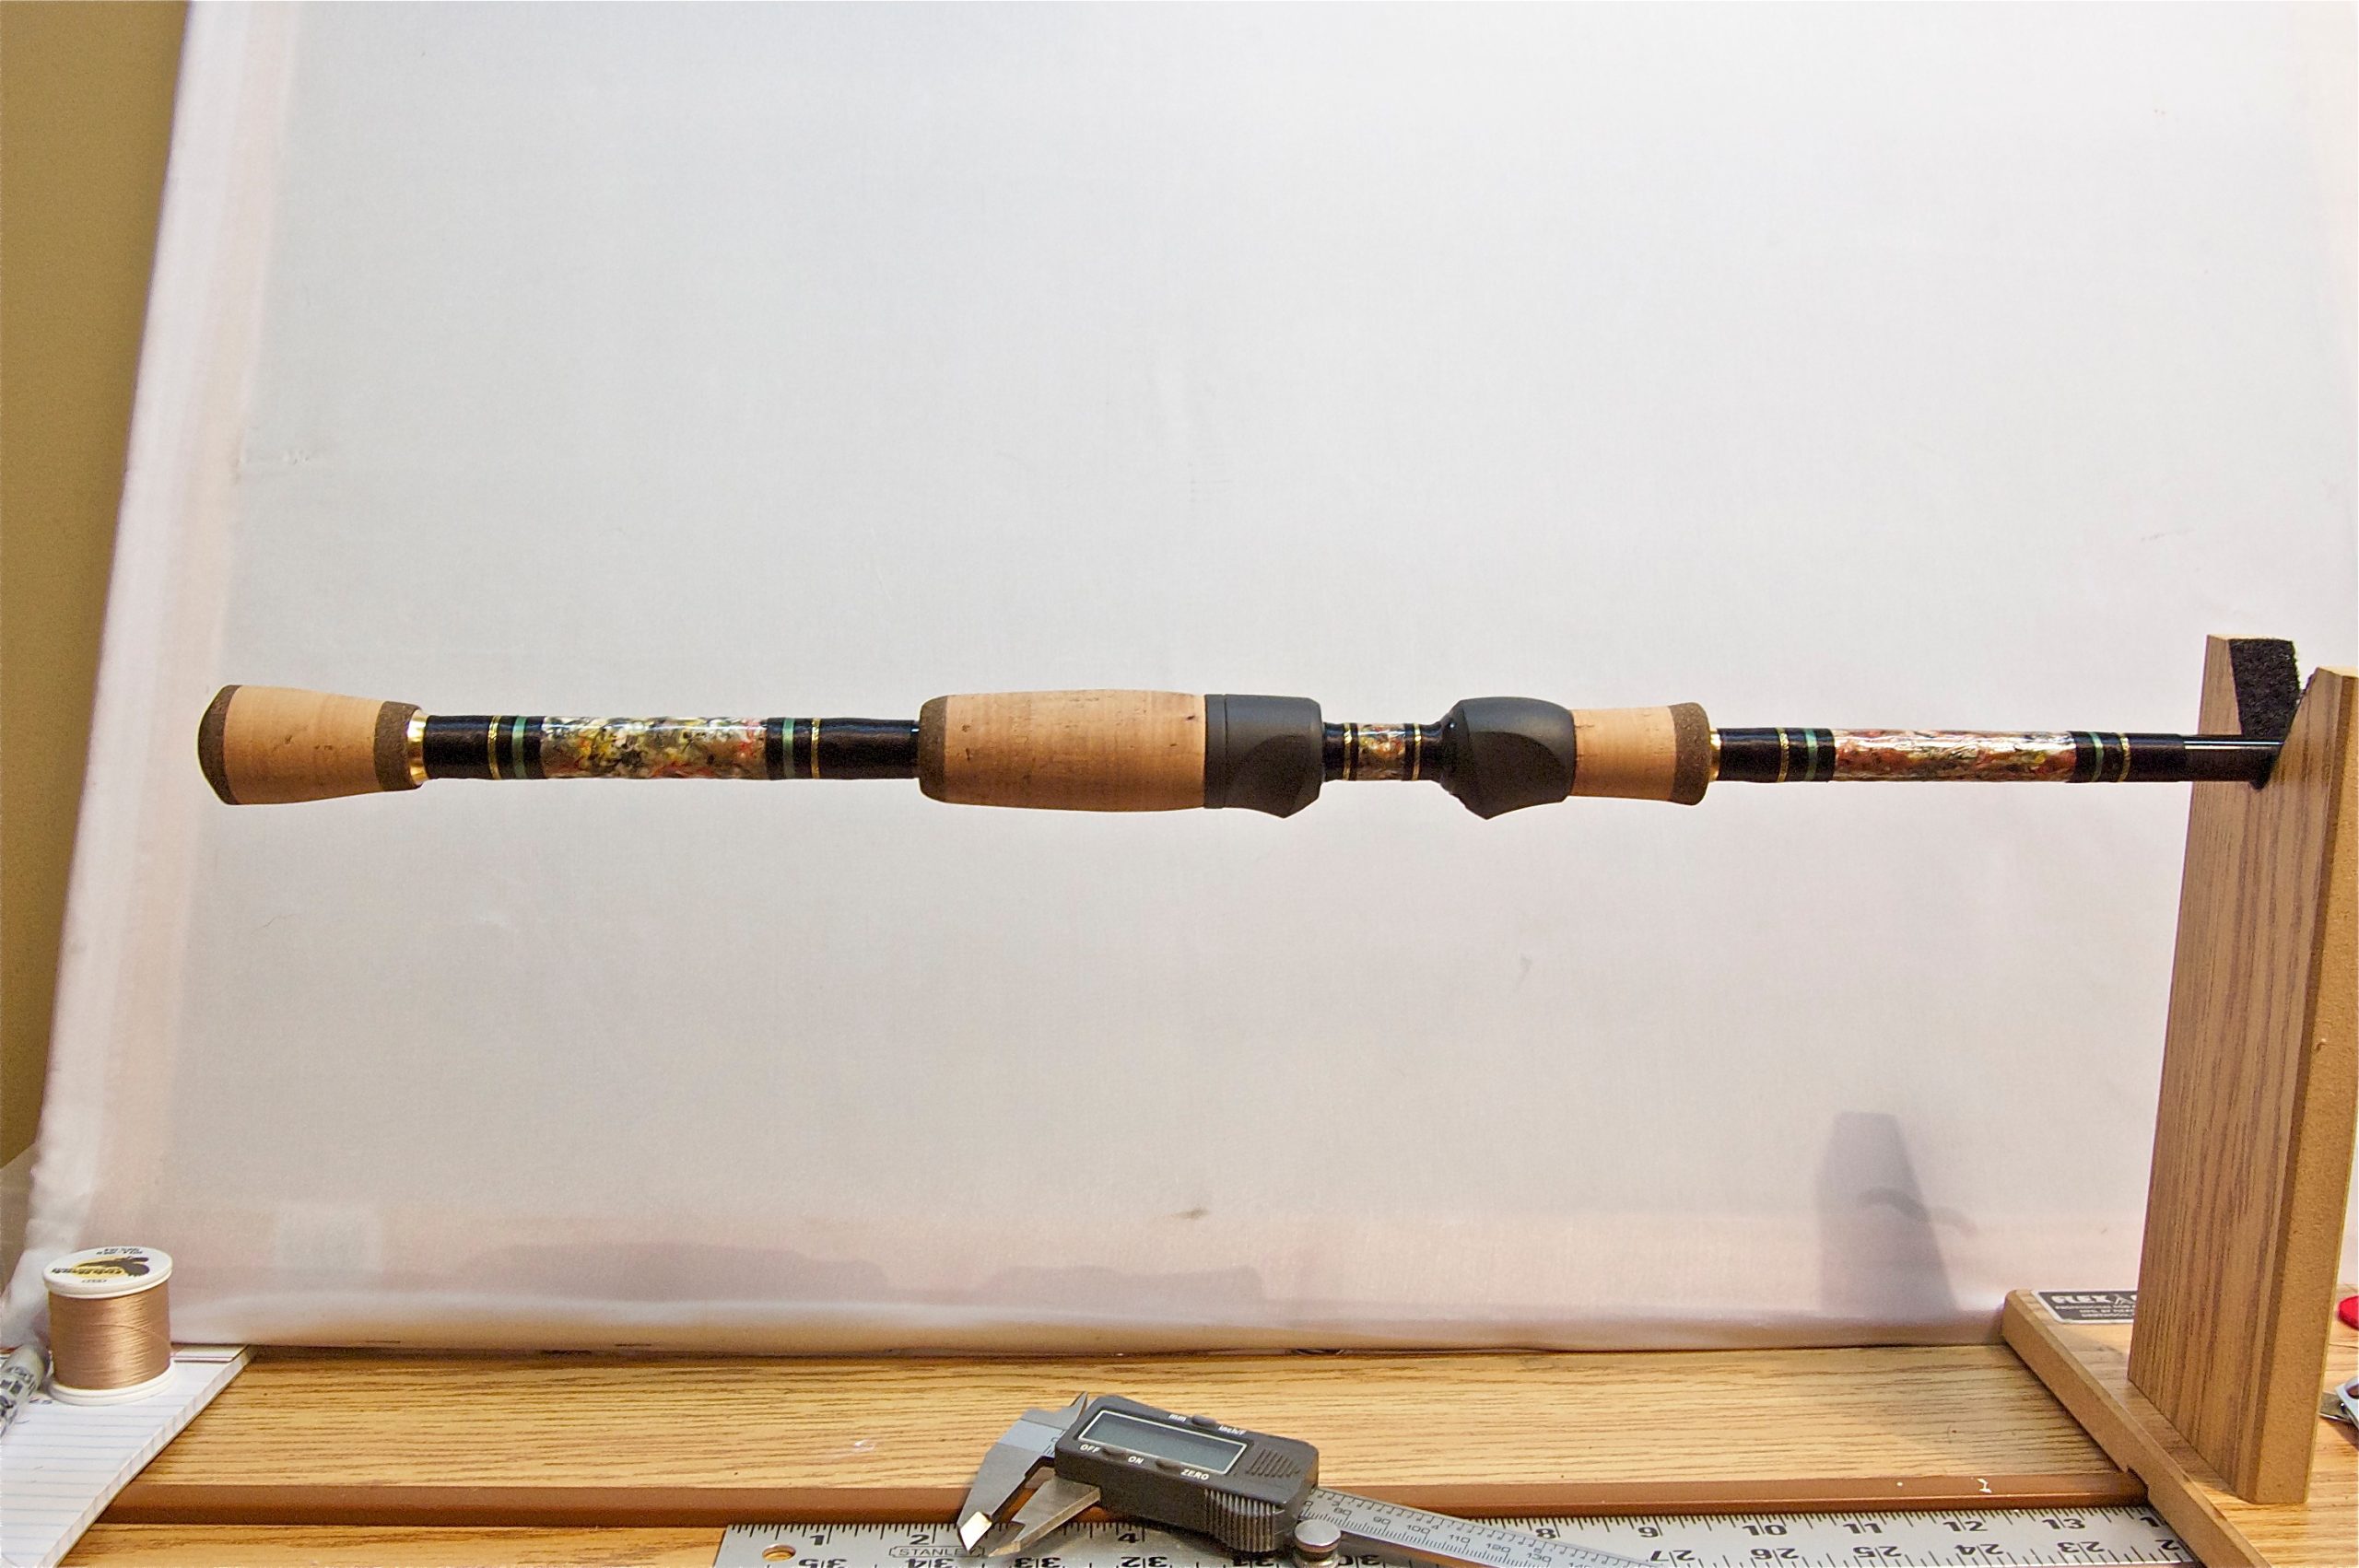
Eventually, as the Carolina craze took off, manufacturers began building rods specialized for the technique, and everybody benefited. Since then, there have been other similar developments — all of which resulted from a need for a specific lure or technique.
There are other reasons for building your own rod. Comfort is one. Many anglers still prefer short-handled casting rods for certain techniques. And while there are a few manufacturers out there offering rods with short handles, choices in length and action are pretty limited. And what if you want a pistol-grip model? Good luck finding one of those on a dealer’s rack!
Or what about this scenario: You want a rod at a certain length and action, but with spiraling guides in a specific size and count. And you want the wraps to match the colors of your favorite football team. Unless you have deep pockets and know a good custom rod builder, you’re pretty much on your own.
Whether you’re looking for traditional style components or those on the cutting edge of technology, there’s a good supply of them out there to choose from. One company at the forefront of it all is Fuji. They offer an extensive selection of rod-building components which encompasses more than 30 years of development.
You want a traditional short handle grip? They’ve got it. You want to try the latest in micro-guide technology? They have that too. In fact, most rod builders, big or small, look to Fuji for their components. They pioneered most of the modern rod building concepts. About the only thing they don’t offer are blanks. Those you’ll have to source elsewhere.
I suggest a quicksearch throughGoogle and you’ll turn up plenty of reliable sources — not only for blanks, but for the other materials you’ll need.
Getting Started
Let’s assume you know what type of rod it is you intend to build, and you already have a blank picked out — its material type, length and action, all ready to go. The next step is to pick the right guides, reel seat, and handle components so that the rod suits your specific needs. And believe it or not, much of that is decided by the brand and model reel you plan to pair to the rod when it’s complete.
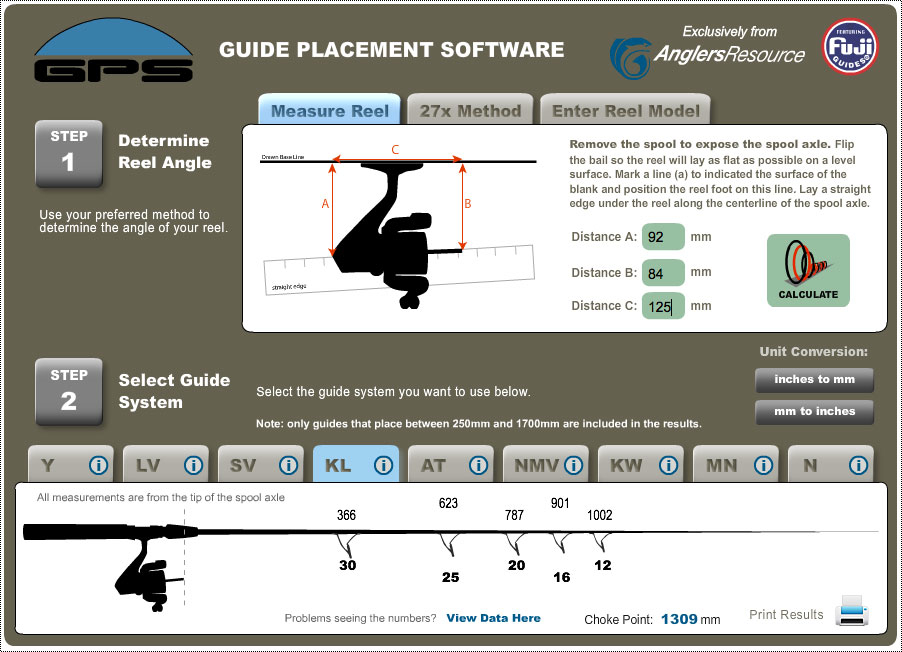
To make the selection process easier for spinning rods, Anglers Resource developed a computerized program to help you make those choices. It’s called Guide Placement Software (GPS) and it’s super quick and easy. It’s also free.
Simply log onto their website and enter some basic measurements, then choose the style guide you want and let GPS do the rest. The results are instantaneous, so you can play with different guide types just to explore your options. The animated software moves the guides you choose into the correct position based on the reel type and blank specifications. It’s that simple.
With GPS to position the guides for you, now it’s only a matter of assembly. To start the building process you’ll first need a list of materials … and not a lengthy list either. Those items include a reel seat with matching cork or EVA foam grips, guide-winding thread, masking tape, reel seat, guide-wrapping thread, finishing epoxy and a little hot-melt glue. You’ll also need a few tools to do the job, including a pair of small, sharp scissors, measuring tape, rattail file, fly-tying bobbin, white grease pencil, and 1/4-inch epoxy brush.
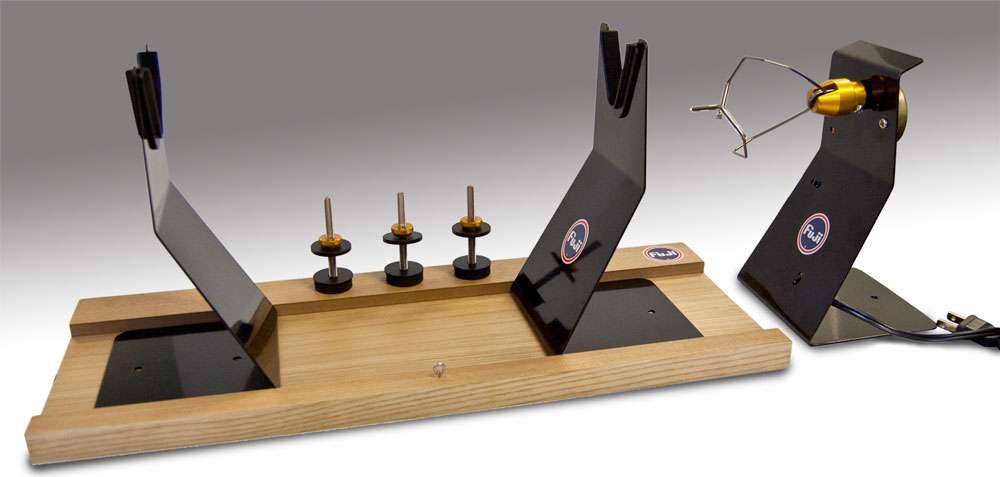
While a rod-turning machine would be nice, it’s really not necessary. A large cardboard box with “V” notches cut in each end will work just fine. Once you have everything together, you’re ready to begin the building process.
So tune in next time and we’ll discuss step-by-step instructions on how to build your own customized rod.

