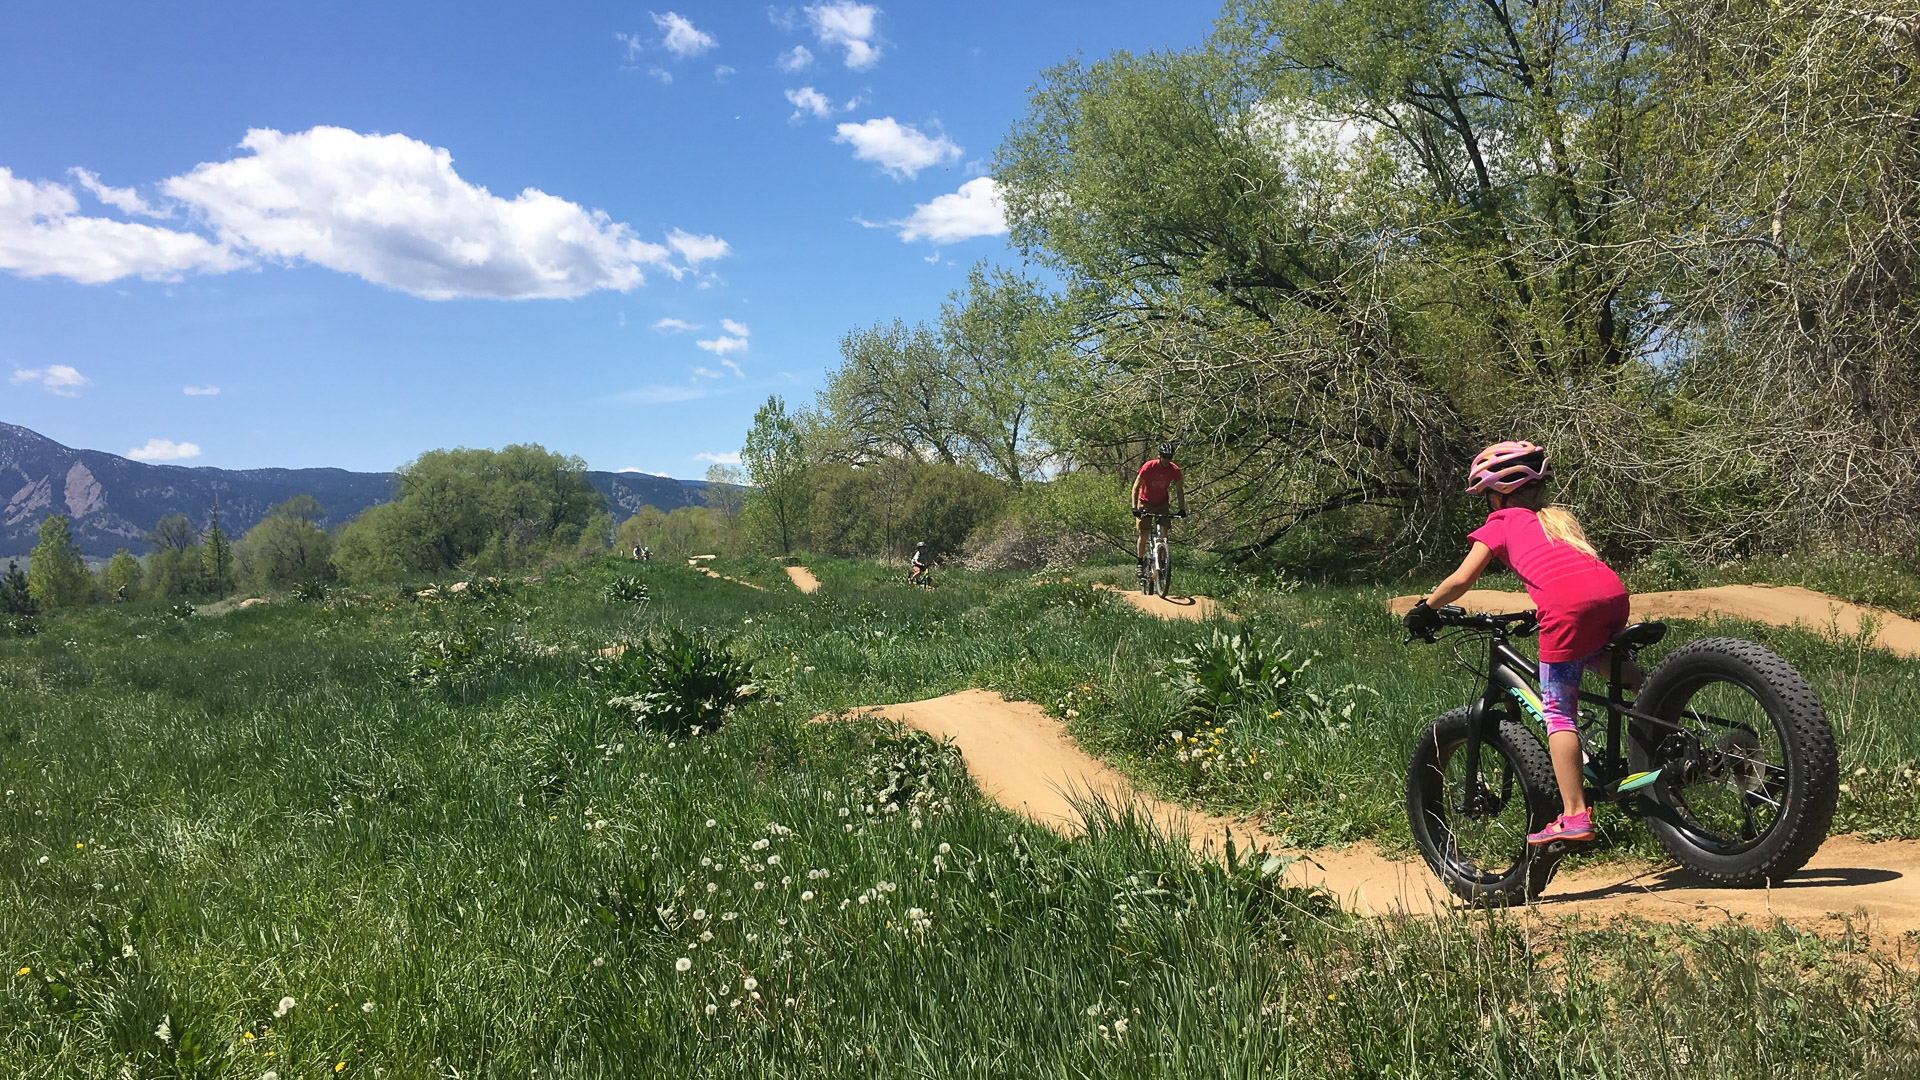

Bike parks range from lift service trails to paved pump tracks. Around the country, cities have found value in putting in bike parks that feature jumps, pump tracks and even some XC trails to provide riders of all ages and skill levels a place to come together and be active. The idea of a first visit to a bike park can seem fun but intimidating. Follow these seven steps for your first urban bike park visit.
Check The Bike Over
One of the biggest components of bike safety and fun is making sure your bike is in tip-top shape. “A local bike shop can give your bicycle a once over and recommend any replacements if needed,” says Adam Haid, founder of Erie Singletrack Advocates, who through the group brought trails to Erie, Colo., and paved the way for new trails and a pump track to be built by the town.
You could also do a simple check by yourself using these tips. Be sure your tires are filled and have good tread. Run your hand over the back and front tires to check for damage. Do a brake check to make sure your brakes are adjusted properly and that the brake pads don’t need to be replaced. Look over your chain. “You want to check for smooth cranking and remove excessive dirt or rust. If your bike has multiple gears, make sure the shifting works smoothly,” Haid says. Be sure your pedals are in good condition. You may want to loosen the tightness for clipping into your pedals so you can make a quick exit out of them to get your feet down. Check your helmet for any damage before you head out as well.
Many parks come with an area with tools to make adjustments or a pump, but you can’t rely on it. Be sure to carry at least a set of Allen keys, wrench, spare tube and pump in your vehicle. Make yourself self-sufficient by having these things on hand.
Be sure to give your bike some love post-visit. Wash and scrub the bike free from dirt, mud and other debris. Apply degreaser to your cassette, chain rings and chain. After drying the bike, add lube to the chain. Then, start planning for your next trip to the park while admiring your clean bike.

Dress The Part
A helmet is essential for riding at any bike park, no matter the terrain. “In fact, I say it is mandatory,” emphasizes Haid. Consider a full-face helmet if you plan to hit any jumps. Goggles or sunglasses will help with the sun and protect the eyes from dust and other debris that gets kicked up when riding.
Riding clothes should offer coverage and protection while also not being too constrictive for freedom of movement or too big where it may get caught in the chain or other part of the bike. Mountain bike or cycling clothes are the best choice. Wear socks for extra coverage. Closed-toe shoes with good grip are also essential for flat pedals. If you have clips, make sure the cleats on your shoes are tightened down and in good shape.
Gloves are great for protecting the hands from slide outs and falls. They also add a bit more padding when grabbing the brakes. Kneepads and elbow pads aren’t necessary, but they do add a bit of protection that can help you prevent injuries.
Depending on the weather, proximity to water, etc., you may want to wear a hydration pack. The pack is not only great for carrying water and snacks, it can also be used to carry the tools you need to make any bike adjustments on the go. You can also store a rain jacket or warmer clothes in case there is a change in the weather. Be sure to check the weather before heading out to the park to be sure you have what you need.

Know The Rules
Bike parks have specific rules in place, all in the name of safety. Be sure to check trail signs for directional trails. Stay on the trails, and do not cut across open land. Features and trails should not be modified or changed. Sometimes parts of a park may be closed due to maintenance, mud or other things causing unsafe conditions. Adhere to any closures, and stick to the trails and areas that are open.
When riding at a bike park, always stay in control. Keep a safe distance between you and other riders. Be courteous and yield to uphill traffic. You may encounter slower riders or riders who need more time. Be encouraging to these riders and give them the space and support they need. Ride jumps one line at a time in the right direction. If you have a mechanical or other issue, move off to the side.
Follow the safety rules and rules of etiquette to be sure every park visitor has an injury-free and enjoyable visit. It’s the positive behaviors that keep bike parks open and available to everyone.

Choose The Right Trail/Area
Check out an online map of the park to be familiar with the features, trails and amenities before you visit the park. Facebook and other outlets are great for getting information on the ins and outs of a park. When you get to the park, get a refresher by looking at a posted map or have a download of the park map on your phone.
There is no need to be a hero, show off or hit the hardest jumps and obstacles from the get-go. Start slow and build your way up, endurance- and skill-wise, with continued riding, visits to the park and time working on skills. “Remember this whenever riding an area for the first time: Pre-ride, re-ride, free-ride,” Haid recommends. “It means to ride slowly and carefully for your first pass on a trail or obstacle. Then do it again with just a little more speed. By your third pass, you are free to ride within your skill level.”

Ride With Friends
Visit the bike park with friends to make the most of the experience. Riding with buddies just adds to the experience in all senses. You can share triumphs and the highs of riding in the bike park. Friends can help if you need advice on how to tackle a line or a certain skill. If you have a mechanical issue, they can be there to help you fix your bike. Have each other’s backs by pointing out safety hazards, motivate each other as you improve skills and just enjoy sharing time together doing something you all enjoy.

Work On Skills
If you, or your riding partners, need to work on specific skills, from banking turns to rolling over rocks to jumping, find the area that best suits what you want to work on. Many bike parks have specific skill areas tailored for sharpening technique and gaining confidence.
It’s important to maintain good form and position on the bike in a park. Here are some general guidelines from Haid when working on skills.
- Always stand up. There aren’t many areas in a bike park where sitting is beneficial unless you’re just moving from one play area to another or riding XC trails within the park. For all other types of riding, you will want to stand up.
- Get in an attack position. Stand up, elbows out, knees bent, back straight and ankles flexed. This allows you to absorb bumps and let the bike pitch and lean underneath you.
- Look ahead. You need to focus about 10 to 15 feet in front of your tire, depending on your speed. It’s very important to look where you want to go. Your body will follow your eyes.
- Put weight on the outside of the pedal. This will drive the force of your body into the side treads of the tire and create traction in a corner.
- Stand up to the jump. If you’re ready to jump, approach the face with more speed than if you were just going to roll over it. As the bicycle pitches up, stand tall and perpendicular to the ground. Lean forward with your chin leading your body. Then as the bike enters the air, allow it to meet your body back in the attack position and prepare for the landing. Land with your knees and elbows bent to absorb any shock the suspension needs assistance with. Do this on very small tabletops before attempting larger, riskier jumps.

Join A Local Trail Organization
There are several benefits to joining a local trail organization. Not only will you meet like-minded friends, you will be part of building a community. You can help with maintaining local trails and bike parks. Provide input on new trails, features and more as you help. These local organizations are also a great place to find local skill clinics where you can keep improving as Haid suggests.


