I’ve always loved solo adventures. When I was 20, I spent the summer in Steamboat Springs, Colo., where I first discovered my love for solo adventures, and would solo hike multiple days a week. And when I was 21, I planned a 10-day solo camping and hiking trip to Colorado, road tripping from Austin, Texas, with my dog. Being in nature with just me, myself and I (dogs are a bonus) is my favorite way to disconnect, recharge and relax. After years of adventures, both solo and with friends, I felt that my experiences had prepared me to go on my first solo overnight backpacking trip with the dogs.

Getting ready
Leading up to the weekend, I made sure to familiarize myself with the trail and the area. A few steps that I took to prepare for the trip:
- Booked a permit for a trail in the Indian Peaks Wilderness near Granby, Colo., through Recreation.gov
- Researched the local regulations and rules for Indian Peaks Wilderness
- Printed out my permit and saved the wilderness area map to my phone
- Looked up the route on AllTrails, where I read previous reviews, downloaded the map for offline navigation and studied the trail
My research told me there would be plenty of water resources, which was great news. But the reviews also mentioned a section of downed trees and avalanche debris, so I had to be prepared for a part of the trail where navigation would be tricky. I always download the GPS file for offline navigation before any hike, so I felt confident I would have the necessary resources to stay on track. My two favorite resources to make sure I’m staying on route are AllTrails Pro and my Garmin inReach Mini — I use these on all my hikes!

As the date approached, I obsessively checked the weather and cross-checked my packing list with my pile of things to be packed. A few things that I always make sure are in my bag before leaving:
- Water and water filter
- Food (meals and snacks), along with utensils and proper food storage for the backcountry
- Portable stove and propane, or a means for cooking meals on the trail
- Prescription medications, along with a first-aid kit
- Clothes, jackets, extra socks, hat/beanie, camp shoes
- Sleeping necessities like a tent, pillow, sleeping bag and sleeping pad
- Garmin inReach Mini (or satellite communication device)
- Portable battery with charging cord for phone
I always have so much fun planning out food for the trip. For lunches and dinners, I typically like to bring Mountain House freeze-dried meals. Some of my favorites are chicken and dumplings, beef stew and spaghetti with meat sauce. For breakfasts, I’ll normally bring myself a breakfast bar, pastry or one of the breakfast freeze-dried meal options. After lots of trial and error when it comes to snacks, I now try to pack a balance of salty and sweet, with a variety of options for that post-hiking appetite.

Once I got everything packed, the excitement was real, and I couldn’t wait to get out there. I loaded my backpack and the dogs’ backpacks into the car, and we were ready to go! If you’re interested in reading more about how to get into backpacking with your dog, check out my Simple 7: Backpacking with Dogs.
Before heading out, I shared my hiking plans for the weekend with a family member and one of my other hiking buddies. Some important information that I recommend sharing with someone at home when you go on solo adventures includes: where you’re headed/trailhead location, intended route or trail, the time they should expect to hear back from you and time they should reach out to search and rescue if they haven’t heard from you. By communicating your plan ahead of time, you can ensure there’s a person watching your back if something goes wrong while you’re in the backcountry. As an additional layer of safety, I always share my Garmin inReach Mini tracking link with others, which allows people to view my location (updated every 20 minutes). With a clear weather forecast, plans shared with friends, trail maps downloaded and bags packed, I was ready to go.

The trip
When I arrived at the trailhead, there were only two other cars there. I was excited to know that we’d enjoy some peace and solitude, but the lack of crowds was an eerie feeling. I wasn’t going to let my anxiety creep in now, so I grabbed the pups and my pack and we hit the trail. As I was hiking along, I was frequently checking the AllTrails app to make sure I was staying on route. The trailhead that I started from broke off into a few other trail systems, so it was important to know which turns to take.

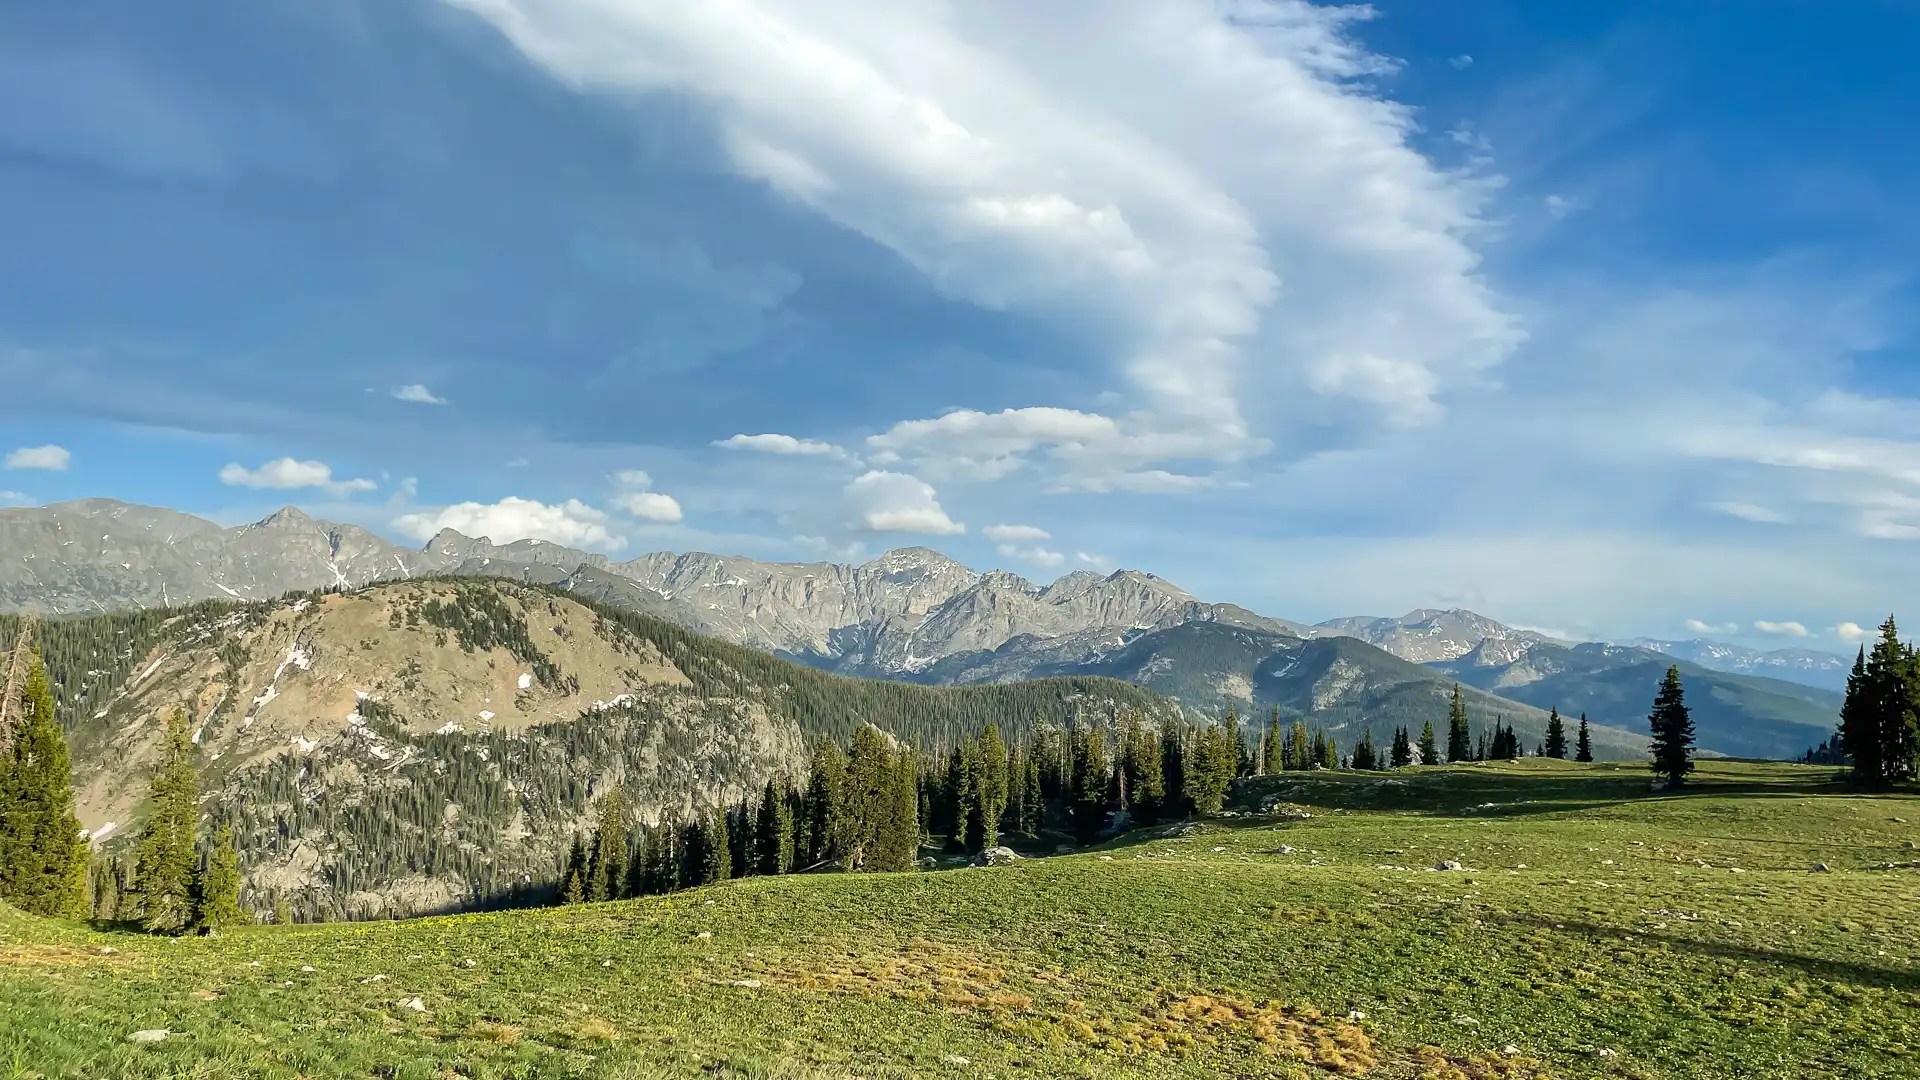
The entire hike was incredible. While the avalanche debris slowed me down a little, I had no issues with navigation thanks to my offline maps. Once I got through the debris, I went up a couple of switchbacks that popped me out above the treeline with sweeping views of the Continental Divide and Rocky Mountain National Park. I stopped to enjoy the views and take some pictures of the dogs, then continued hiking along. After 6.3 miles and 3,100 feet of elevation gain with my 38-pound pack, I saw the lake ahead. Golden hour was just around the corner, and I rushed to get my tent up in time to watch the sunset. I couldn’t believe THIS was the spot I was going to get to call home for the night!
When I arrived at camp, I used my Garmin to send a message to my “people on the outside” letting them know I set up my tent for the night and made it safely to my intended destination. Once my tent was built, I inflated my sleeping pad and prepped my sleeping bag/pillow for later that night.
The next steps were food and water, so I filtered enough water from the lake (using my Katadyn Hiker Pro) and boiled water using my Jetboil for some spaghetti and meatballs, sunset view included!
From dinner until I went to sleep, I enjoyed time doing nothing, playing with the dogs and photographing the views. Once I finished my meal (and dessert, a must on the trail!), I packed up all my food and scented items into my bear canister and walked it over 100 feet away from camp. Since I was camping near the treeline, I was glad I had my bear canister and didn’t have to rely on finding the right tree to hang a bear bag.

The first night sleeping alone in the backcountry came with some fear and anxiety, but I came out of the trip with a full heart (and sore legs). Solo travel has always been one of my favorite ways to disconnect and recharge, and I’m already planning my next overnight trip with Maggie in the backcountry. If it’s something that interests you, I highly recommend taking the time to do your research first. Start small or with friends, build up your experience, and plan a trip when you feel ready. And most importantly, share your plans with someone you trust in case of an emergency!
Trip recap
A few learnings and takeaways from the trip:
- Research your route and research it again! You can never be too prepared when heading into the backcountry, especially when going solo.
- Download maps and trails for use offline, from various sources if possible. Print a map to put in your pack as a backup if your phone dies. For downloading trails, AllTrails Pro is a great resource. For downloading maps, I recommend Google Maps.
- Check local regulations. You can’t just pitch a tent on every trail you find online; trails often have rules about where you can camp (even when backpacking is allowed), and many trails require overnight permits that are booked in advance. Make sure you know the local regulations BEFORE heading out to the trailhead.
- Take precautions to protect wildlife. If bears are in your area, refresh yourself on the proper way to hang a bear bag, or invest in and pack a bear canister. I was so glad that I had my BearVault BV450 with me!
- Freshen up on ways to enjoy the experience responsibly to ensure you are minimizing your impact.
- Share your plans with a friend before you go, and let them know when they should expect to hear back from you.


