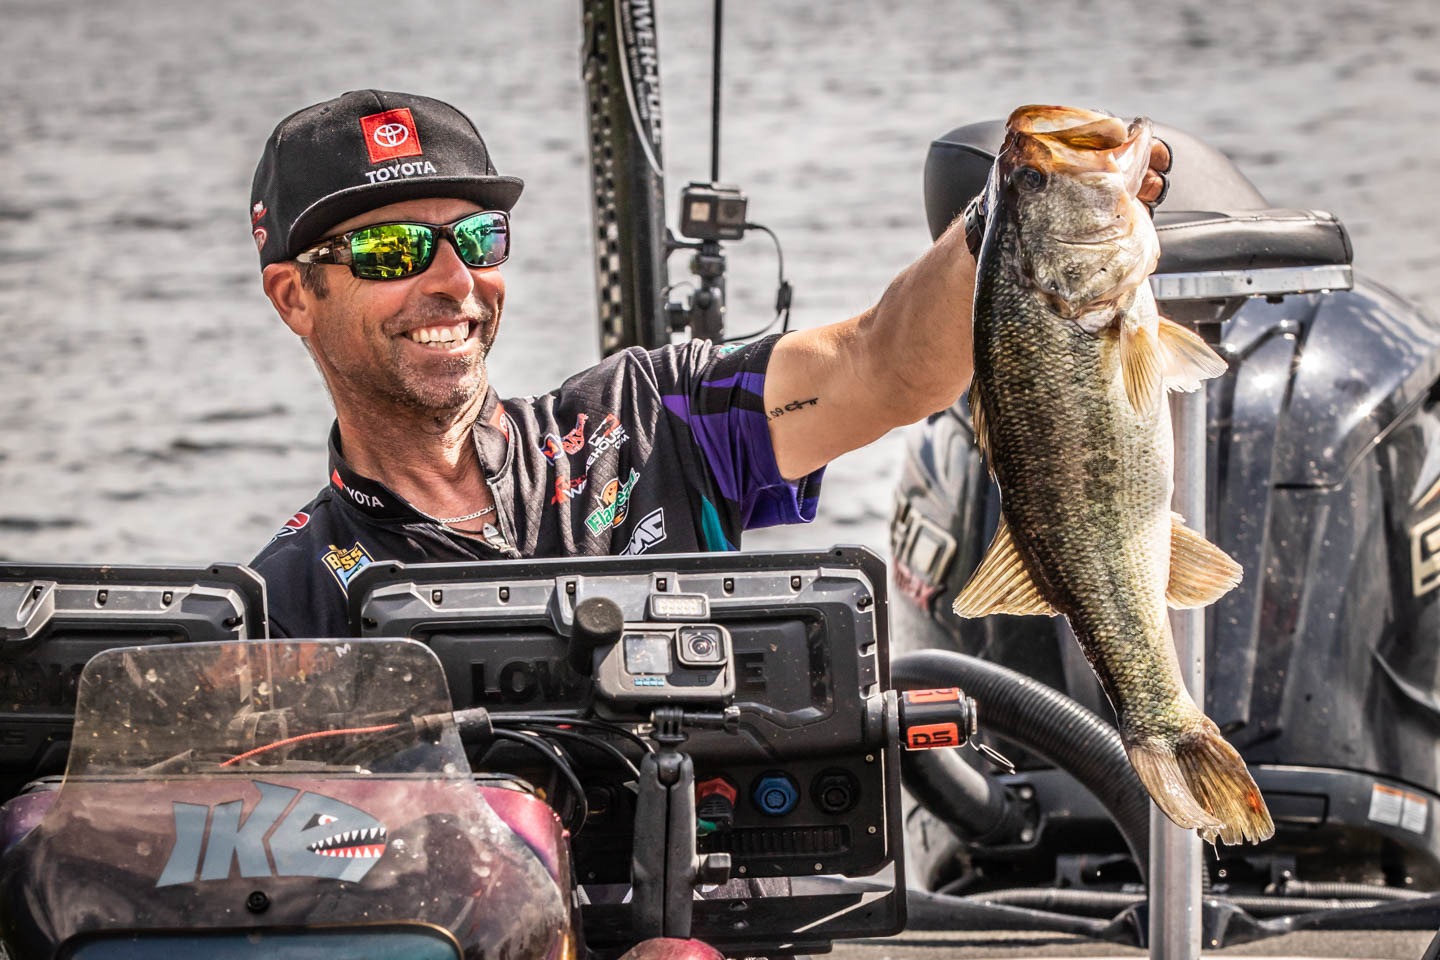
I recently served as a boat captain at a high school tournament. The two young anglers I chaperoned were really smart and talented. They were skilled with their tackle, boat control and forward-facing sonar.
Whenever I’m a boat captain, I try to teach the young anglers what has been successful for me. I had never been to this particular lake, so I suggested that we look over the chart and mark potential fishing locations before we started fishing.
Those kids looked at me like I was an alien. I could have been E.T. at that point. I was surprised how inexperienced they were when it came to finding fishing spots with digital maps and marking them with waypoints.
Given the incredibly detailed digital GPS mapping we have today, it was hard to believe they didn’t know how to take advantage of this technology. It was a major teaching opportunity.
Before I fish a lake I’m not familiar with, I study a digital C-Map on one of my Lowrance HDS 12 Live graphs. The first thing I do is color code the depth contours. I key in a different color every 5 feet out to about 30 feet. From 30 feet and deeper, I change the color every 10 feet.
That makes the whole lake look almost three-dimensional. In an instant, I can see massive flats, steep banks, high spots, low spots, channels and other bottom features.
Then I put a stop sign waypoint icon down in areas that look to have high bass potential. I use a different icon to mark less obvious, offbeat spots. They are often the most productive because other anglers overlook them.
When I get on the water, I don’t waste time wandering around. I have a host of icons that tell me precisely where to invest my precious practice time.
Say, one of my stop sign icons marks a river channel on the end of a flat. When I get there, I’ll zigzag around that icon in a grid pattern while studying the two Lowrance HDS 12 units on my console. One unit shows the C-Map while the other displays crisp down and side imaging that details exactly what’s under the surface.
I move at a fast idle. Somewhere in that channel bend will be something that catches my attention. It could be a boulder, a brushpile, a patch of grass, an old house foundation or maybe the sharpest part of the drop.
When I see something I like, I drop a waypoint on the sweet spot. Then I change the waypoint icon to something that identifies what I’ve marked. I use a yellow yield sign icon to mark boulders, a red caution icon for a brushpile or some other type of wood and a green money icon for grass. I employ a variety of icons to mark drops, ditches and many other features.
I’ve been doing this for 20 years. It doesn’t matter which icons you choose as long as you know at a glance what they represent.
After dropping a waypoint icon that marks the juice, I erase the stop sign icon to reduce clutter on my display. Then I move two or three long casts downwind or downcurrent from the icon. I drop my trolling motor into the water and begin fishing toward the icon while paying close attention to my bow graphs.
With forward-facing sonar, I can actually see what I’m casting to ahead of the boat before I’m on top of it. If I get a bite, I immediately drop an American flag icon to mark where the boat is sitting.
This is crucial because it allows me to line up the exact same cast when I return. In many instances, you have to cast to a spot at a certain magic angle to get a bite.
This system of map study and employing a variety of waypoint icons has helped me tremendously. It’s also fantastic for pattern fishing. For example, if I start catching bass on rocks on windy banks, I can zoom out my C-Map and see all the yellow icons that mark similar places.
You can learn more about how I take full advantage of digital maps, waypoints and more at www.mikeiaconelli.com or www.youtube.com/c/goingike.


